Have you ever heard a singing bowl? That deep, warm hum stops you mid-thought. It pulls you into the present moment.
I remember my first time. A friend struck a small bronze bowl. The sound wrapped around me like sunlight.
That moment changed everything for me. It might change things for you, too.
What Exactly Is a Singing Bowl?
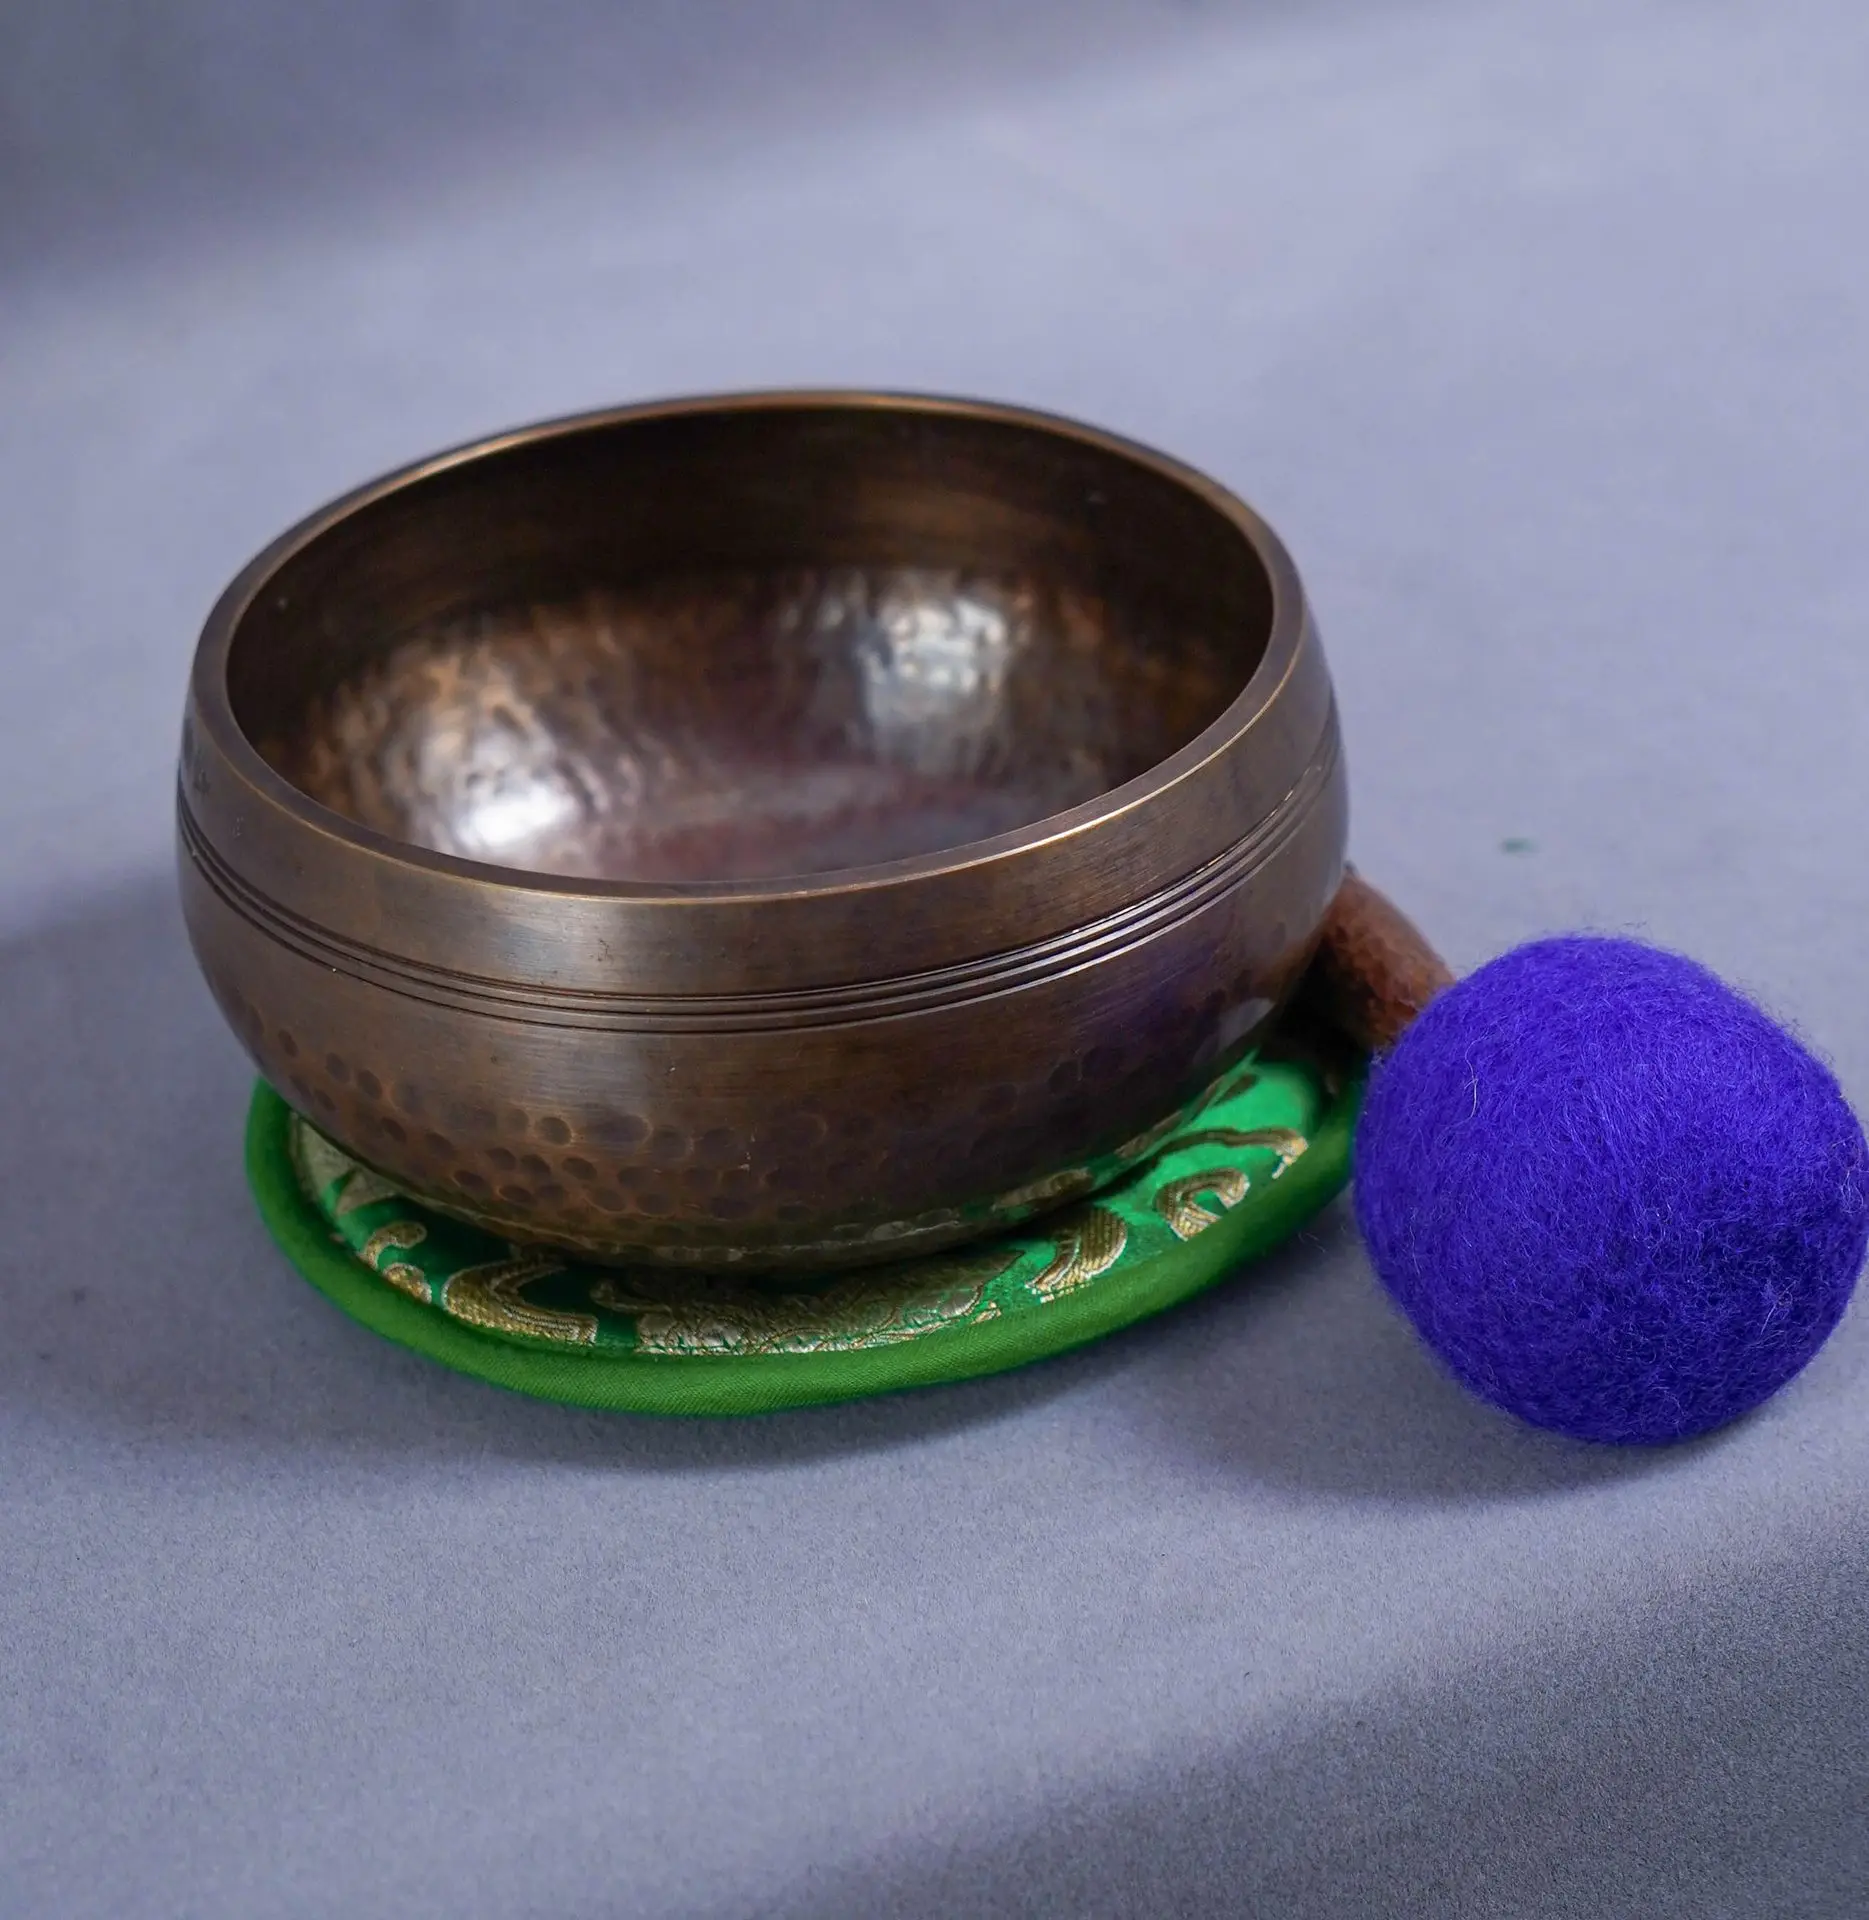
A singing bowl is a metal or crystal bowl. You strike it or rub its rim. It produces a rich, sustained tone.
Think of it as a bell turned upside down. Instead of hanging, it sits on a cushion. You bring the sound out yourself.
People use them for meditation and relaxation. Sound therapists use them for healing sessions. Some people simply enjoy the calming vibrations.
The History and Origins of Singing Bowls
Where Did They Come From?
Singing bowls trace back to ancient Asia. Most scholars point to Nepal and Tibet. Some believe they originated around 500 BC.
Monks used them during meditation and prayer. The bowls marked the beginning of rituals. They also signaled transitions during chanting sessions.
The Tibetan Connection
The term "Tibetan singing bowl" is widely used. However, the true origin remains debated. Historians still argue about their exact birthplace.
Here is what we do know:
- Nepal, India, and Tibet all produced them. Metalworking traditions thrived in these regions.
- Oral tradition carried the knowledge forward. Written records are surprisingly scarce.
- Monks kept the craft alive for centuries. They passed techniques from teacher to student.
The mystery adds to their charm, honestly. Not everything needs a clean, tidy origin story. Sometimes the unknown makes things more beautiful.
How They Spread to the West
Western travelers discovered them in the 1970s. They brought bowls home from Kathmandu markets. Word spread quickly among spiritual seekers.
Today, you will find them everywhere. Yoga studios, therapy offices, and living rooms. They crossed cultures and found a new purpose.
What Are Singing Bowls Made Of?
The Traditional Seven-Metal Alloy
Old singing bowls were made from seven metals. Each metal is supposedly connected to a celestial body. This idea blended metallurgy with spiritual belief.
The seven metals traditionally included:
- Gold for the Sun, silver for the Moon. These were used in tiny amounts.
- Copper, tin, and iron formed the base. They gave the bowl its structure.
- Mercury and lead completed the blend. Modern makers often skip these two.
Does the seven-metal claim hold up scientifically? Sometimes yes, sometimes no. Many antique bowls test positive for multiple metals.
Modern Singing Bowls
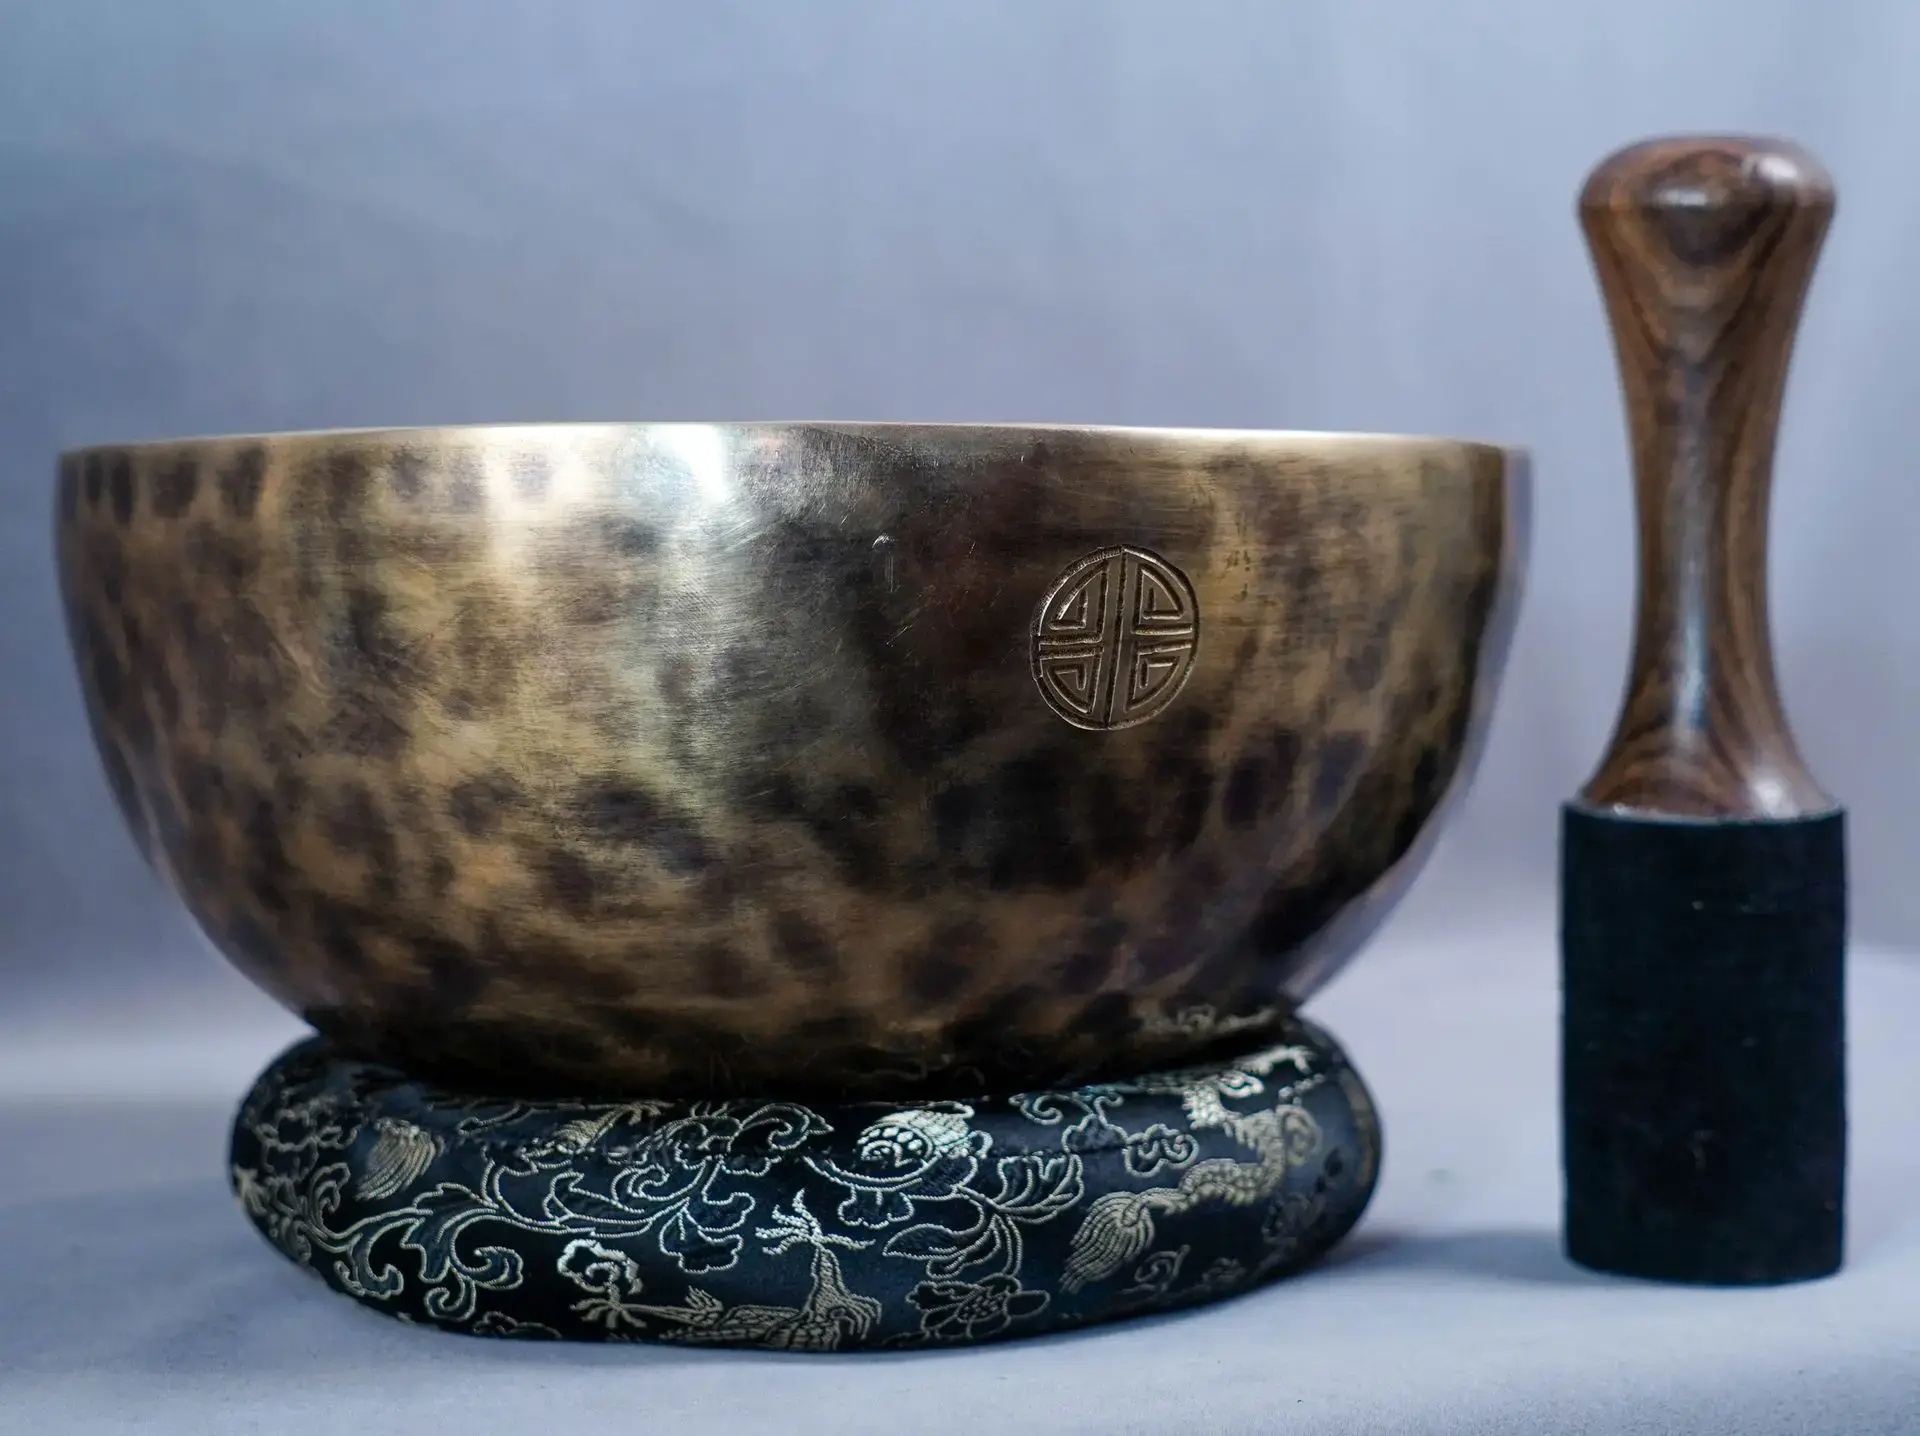
Most bowls today use simpler alloys. Bronze and brass are the most common. They still sound absolutely wonderful.
Crystal singing bowls are a newer invention. They are made from crushed quartz crystal. Their tone is bright, clear, and piercing.
Here is a quick comparison:
- Metal bowls produce warm, layered overtones. They feel grounded and earthy.
- Crystal bowls create pure, high-pitched tones. They feel light and expansive.
- Both work beautifully for meditation. Your preference is entirely personal.
Choose what resonates with you. I mean that both literally and figuratively.
How to Play a Singing Bowl
What You Will Need
You need just two things to start. A singing bowl and a mallet. That is genuinely it.
Place the bowl on a flat surface. A cushion or rubber ring works best. This prevents the bowl from sliding around.
Step One: The Strike Method
Hold your mallet like a drumstick. Gently strike the side of the bowl. Let the sound ring out fully.
Do not hit it too hard. A singing bowl is not a gong. Gentle contact produces the best resonance.
Listen as the tone slowly fades. Notice how the vibrations feel in your body. This alone can be deeply meditative.
Step Two: The Rimming Technique
This is where the magic really happens. Press the mallet against the outer rim. Now move it slowly around the edge.
Keep even pressure the entire way around. Move at a steady, unhurried pace. The bowl will begin to "sing."
A few tips to help you succeed:
- Go slow at first, speed up gradually. Rushing kills the vibration every time.
- Keep the mallet firmly against the rim. Lifting it breaks the sound instantly.
- Use your whole arm, not just youryour wrist. Smooth, circular motions work best.
It takes practice. Do not get frustrated. I fumbled for a full week before it clicked.
Step Three: Experiment With Sound
Try striking before rimming the bowl. The initial strike builds vibration faster. Then the rimming technique amplifies it beautifully.
Play with different angles and pressure levels. Each small adjustment changes the tone slightly. Your bowl has many voices inside it.
Understanding Singing Bowl Mallets
Why the Mallet Matters
Your mallet shapes the sound completely. The same bowl sounds different with different mallets. Think of it like a guitar pick.
A hard pick gives a sharp sound. A soft pick gives a mellow sound. Mallets work the exact same way.
Suede-Wrapped Mallets
Suede mallets are the most popular choice. They produce warm, smooth, and deep tones. Most beginners start with suede and love it.
The soft wrapping grips the rim easily. This makes the rimming technique much simpler. Suede is very forgiving for new players.
Wooden Mallets
Bare wooden mallets create brighter tones. They bring out higher-pitched overtones clearly. The sound is more direct and focused.
They work best for striking the bowl. Rimming with wood takes more skill, though. The contact can feel slippery at first.
Silicone Mallets
Silicone mallets are a modern addition. They offer a middle ground between suede and wood. The tone is clear but not too sharp.
Here is a simple way to decide:
- Choose suede for deep, warm meditation tones. Best for relaxation and calming sessions.
- Choose wood for bright, clear, ringing tones. Best for alertness and energy work.
- Choose silicone for a balanced, versatile sound. Best for experimenting and sound therapy.
You do not need all three right away. Start with one and explore from there.
How to Clean and Care for Your Singing Bowl
Daily Care
Wipe your bowl after every use. Your hands leave oils on the surface. A soft cloth handles this perfectly.
Store it on a cushion or padded shelf. Never stack bowls on top of each other. Scratches affect both appearance and sound.
Cleaning Your Bowl
Warm water and mild soap work great. Gently wash the inside and outside surfaces. Rinse thoroughly and dry it completely afterward.
Never use harsh chemical cleaners on it. They can damage the metal's natural patina. That aged look is actually quite valuable.
Polishing Your Bowl
Some people love a shiny, polished bowl. Others prefer the dark, antique patina look. Neither choice is wrong at all.
If you want to polish your bowl:
- Use a gentle metal polish sparingly. A little goes a very long way.
- Rub in small circles with aa soft cloth. Work one section at a time patiently.
- Rinse off all polish residue completely. Leftover polish can dull the sound.
I personally leave mine unpolished. The worn surface tells a story. Every mark and shadow adds character.
Protecting the Sound
Your bowl's sound can change over time. Small dents and dings alter the vibration. Handle your bowl carefully and mindfully always.
Keep it away from extreme temperatures, too. Rapid heating or cooling stresses the metal. A stable environment keeps the tone consistent.
Final Thoughts
Singing bowls are beautifully simple instruments. They ask very little from you. Just presence, patience, and a gentle hand.
You do not need expensive equipment to start. You do not need years of training. You just need curiosity and willingness to listen.
Pick one up. Strike it once. Let the sound tell you everything else.
That hum you hear? It has been waiting for you.